Creating a Release (Text Instructions)
Creating a Release in 4 Steps with Full-service Caster
Introduction
Creating a Release with Caster is a 4-step process and is the foundation for getting your music out to verified tastemakers around the world! With the Release Creator, you’ll be able to compile your tracks, create a marketing email, and select who it goes to. In this walkthrough, we’ll show you how to customize your upload so that you can create the perfect Release!
Release Overview
When you first log on to Caster, you’ll be greeted with the Release Overview page.
The top section now displays any Releases you have that are currently a work in progress. If you’re looking to continue something you have started, navigate to the three dots to resume your Release.
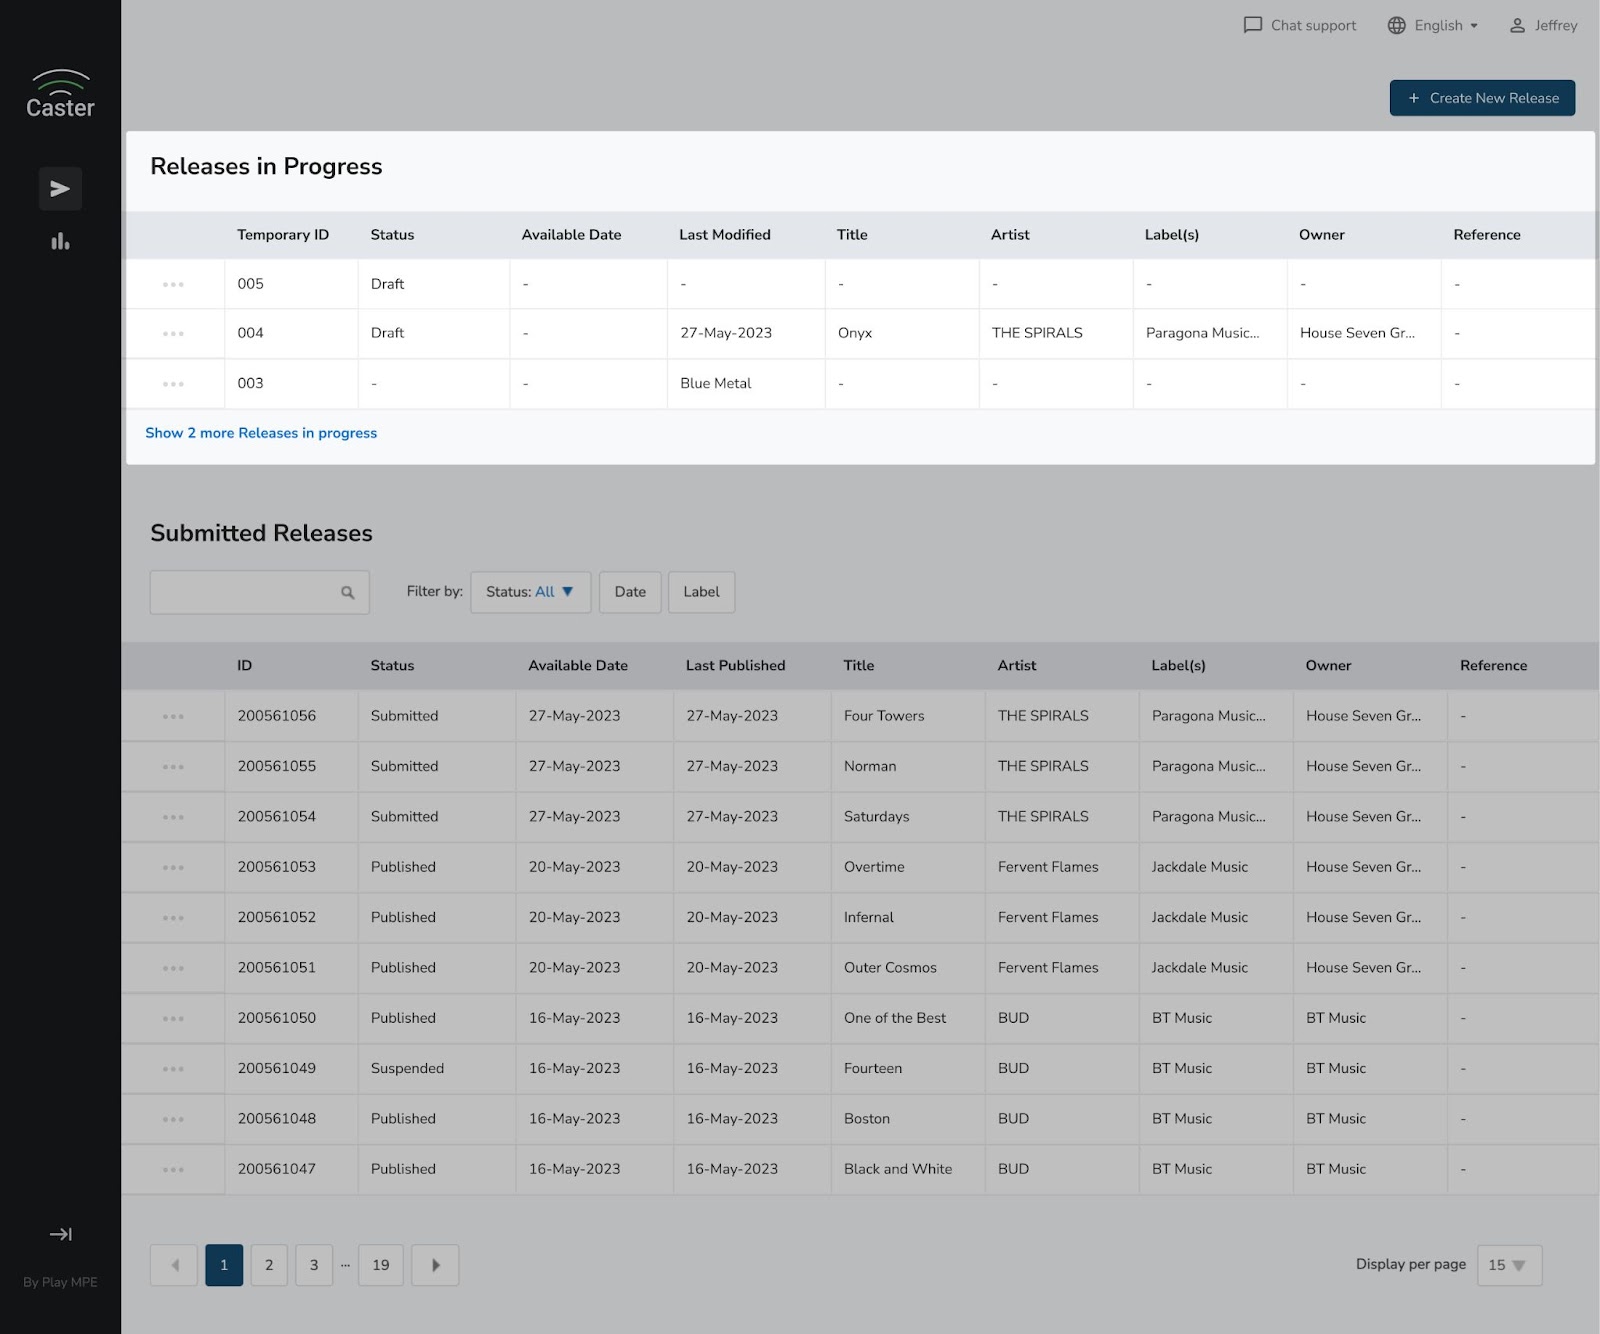
The bottom section displays Releases that have been completed and published, or have been submitted to our Release Coordinators for assembly. The status column will tell you exactly what’s happening!

1. Step 1 – Upload
In the first step, you’ll upload all the relevant files that are a part of your Release. At the bottom of the page, you’ll find a footer that includes several options.
For further information about how to fill out all the fields in step 1, check out How to upload files and metadata.
2. Step 2 – Promote
In the second step, Promote, you’ll focus on crafting the email that will be sent out to your recipients announcing your Release. This page includes the settings for the email heading, date and time of send, but most importantly, the body of the email. You can also add in extra promotional tidbits to support the release of your track(s)!
*Email subject: The title of the email
*Send time: The time of day in which the email will be sent out
*Time zone: The time zone in which your track(s) will be made global
This marks the end of Step 2 – Promote. When all your fields are complete, proceed with Save and Continue. You will be able to return to this step at any given point to make changes, granted you have not submitted the release.
3. Step 3 - Distribute


This marks the end of Step 4 – Distribute. When all your fields are complete, proceed to Review & Pay.
4. Step 4 - Review & Pay
Before you submit, please note that you will not be able to make any changes past this point, so if you need to review any of the previous steps, you can take the time to do so now. Once you've reviewed your Release Summary details, enter your card information and click "Pay Now"
Next steps
Once submitted, you can expect to hear from a Release Coordinator in the next 1 to 2 business days with your Release assembled for approval, which you can then review and request for changes if necessary. You will also receive your receipt of payment at that time.
At the same time, your Release will be moved into the Submitted Releases table with the status set to Pending. This will be updated as the Release Coordinator continues to work with you to publish your Release.
If you have any additional questions, please visit our Support page or reach out to support@plaympe.com.
Related Articles
Creating a Release (Text Instructions)
In the Play MPE Caster, releases are created by choosing assets available to Release Creator users. One way to create a release is through the Releases tools in encoder.plaympe.com. Creating a release in Releases Sign into encoder.plaympe.com. Click ...How to Resend a Release (Text Instructions)
Caster allows you to resend an email associated with a release. Please follow the steps below on how to do that. If you are looking to make changes in the release before resending, please follow the steps below: 1) Log into the Caster. 2) Click the 3 ...Inserting Text & Images in Release Emails
Text and images can be included in the release email by editing and adding the Promo Info element. Editing Promo Info In Email builder click on the Promo Info button in the Element blocks on the right side of the screen. This will reveal the ...Creating a Release From an Asset
One of the easiest ways to create a release is by finding the asset first in Assets and creating it there. In Assets, find the asset that you wish to create a release from, and click on the 3 dots next to it to open the context menu. Choose Create ...Creating and Editing Custom Lists (Full Video Tutorial)
Click below for a full tutorial video on creating and editing Custom Lists from your Self-Service Caster account. Download and fill out the attached Custom List Template with the required information. Please be sure to include each recipient's first ...